The Flemish Bee
All and everything about the things I'm making and progress of projects I'm working on.
Monday, 19 May 2014
Whiling away boredom
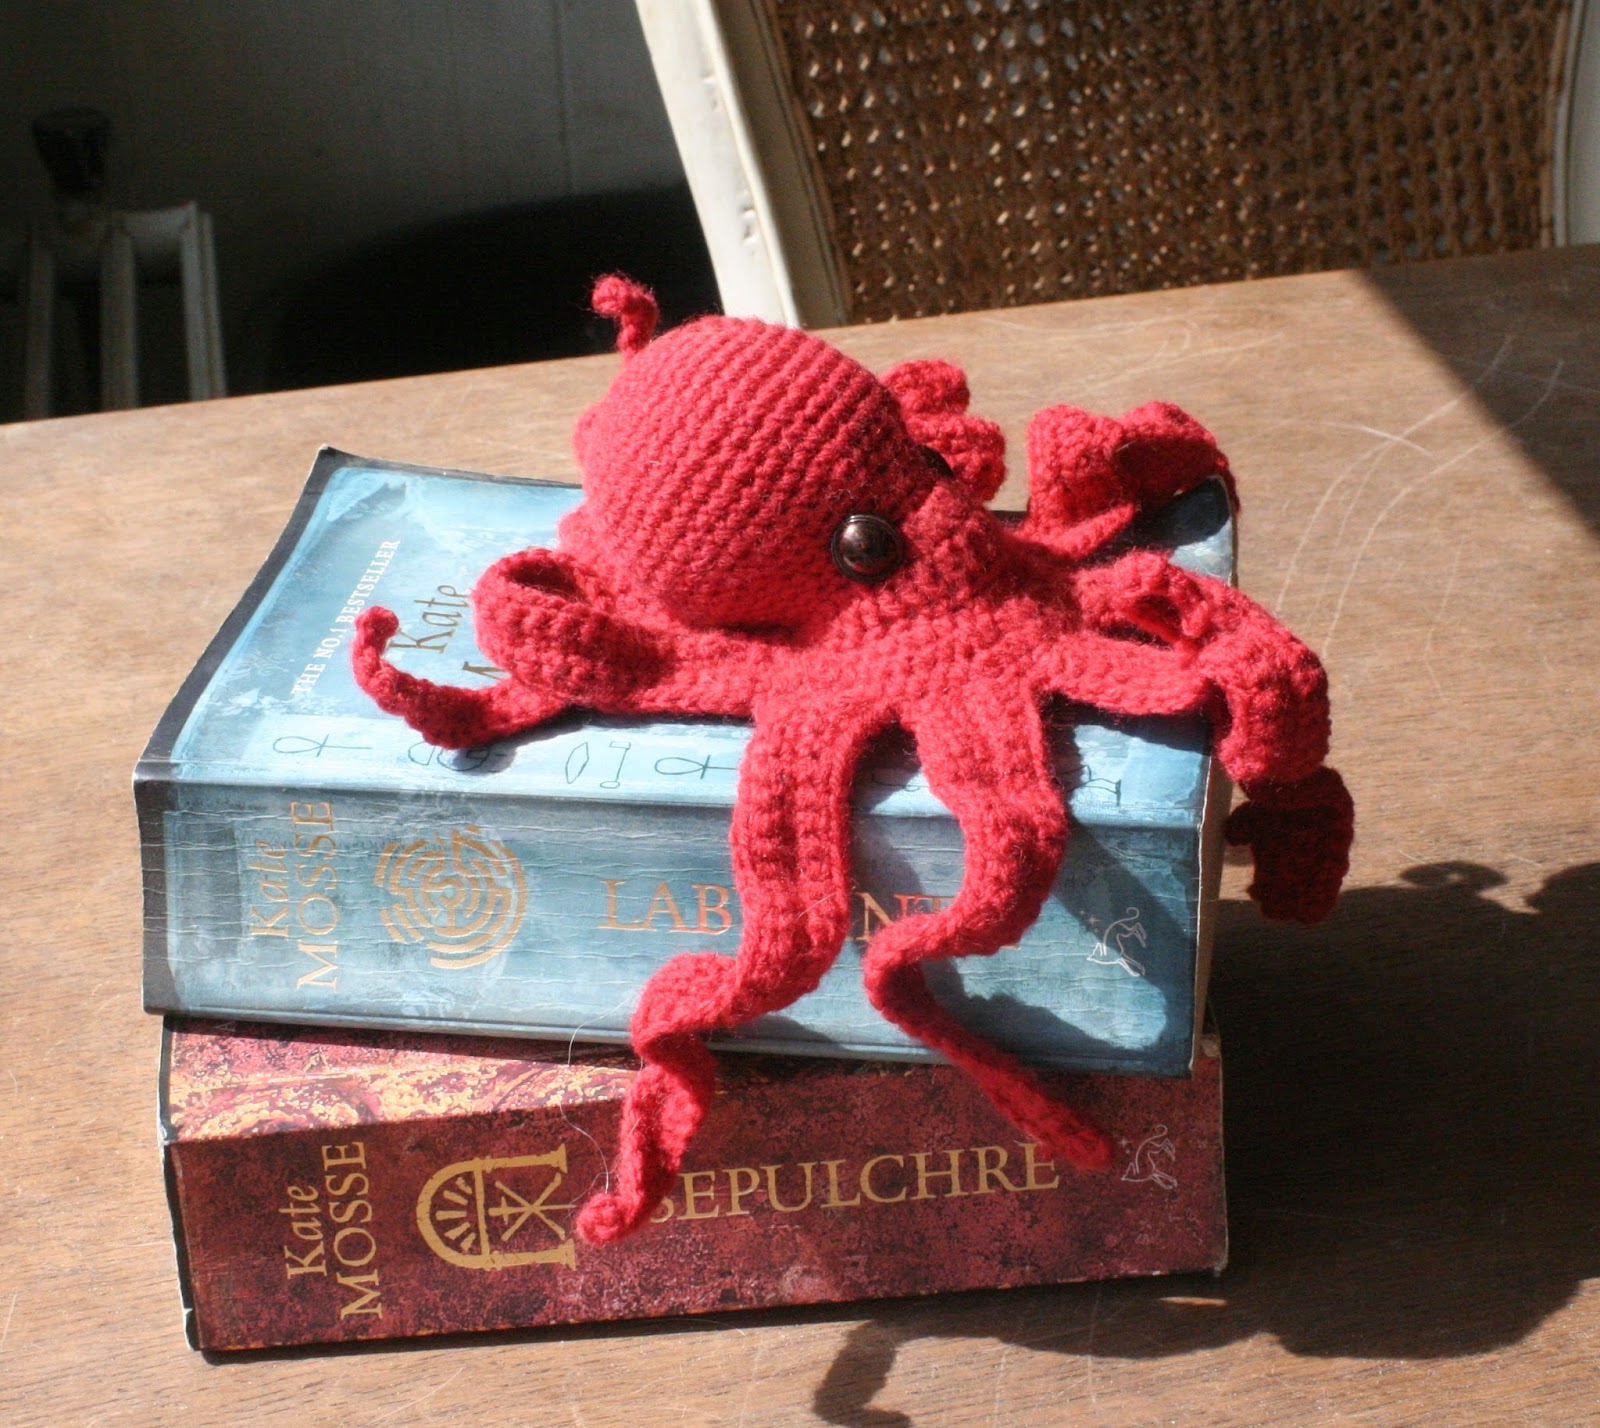
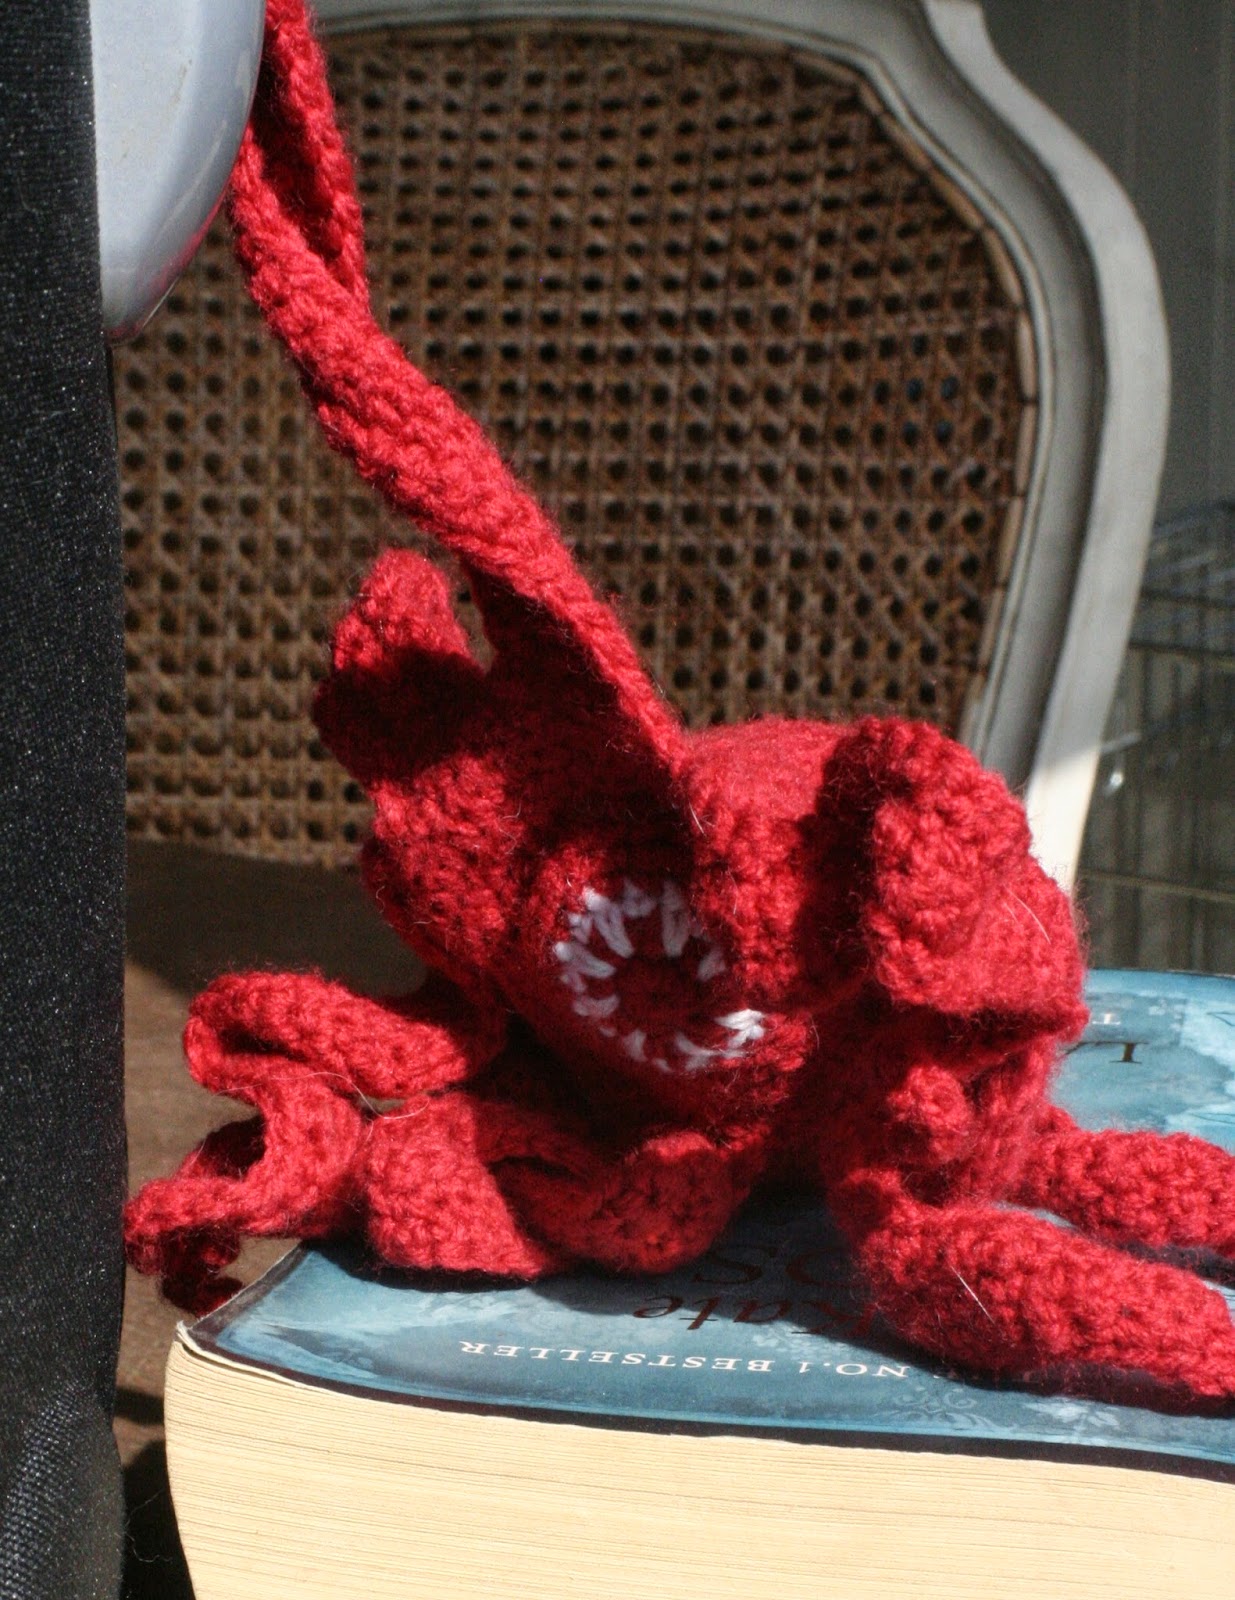
I had a little wool left from a previous project, so I decided to crochet a small animal. Some surfing on the net inspired me to make this little fellow.
Saturday, 15 March 2014
A Lamp for my Bedroom II
As I have been promising since 11th January, I am going to make a lamp for my bedroom out of crocheted, knitted and Bruges Lace doilies.
I saw the picture of the lamp for the first time on Pinterest and loved it immediately. Just had to get the materials together to make it. I collected some of the doilies at thrift stores, car boot sales ... and I made quite a few myself.
Now this is what you need:
I saw the picture of the lamp for the first time on Pinterest and loved it immediately. Just had to get the materials together to make it. I collected some of the doilies at thrift stores, car boot sales ... and I made quite a few myself.
Now this is what you need:
Powertex is a textile hardener that hardens
to a complete solid state when it is dry
A large round party balloon, blown up to the size of lamp that you want
The collection of doilies
A fitting for a pendant lamp
Make sure you cover all surfaces, its a messy business
I use disposable gloves, although Powertex comes off your hand easily enough
A tray to put the Powertex in, since you have to submerge
the doilies and squeeze them out again
I started at the top and work my way down, overlapping as I go. Make sure to leave a hole in the top, large enough to slip a bulb through, you might need to change it from time to time.
This is as far as I got with my first bottle of Powertex.
I am going to let this part set completely. That way I can untie it from my kitchen chandelier and turn it upside down to continue working on it, preventing the bottom doilies from slipping of when they are not dry yet.
I will continue soon, but ran out of Powertex. Unfortunately I have to drive to Antwerp to get it. But I promise, there will be a follow up of the photo's soon.
Second bottle of Powertex bought ... continuation of the construction!
Ran out of Powertex again, 3 more small holes to fill. I underestimated the amount of "glue" these doilies absorb.
I'm very sorry that I have not been here for a while. Unfortunately the doily lamp did not go quite as I expected.
I left too long between the first and second stage of the covering of the balloon, so it had deflated somewhat and the shape was not entirely round anymore ... on top of that, during the drying of the second phase, the balloon got punctured, and because the glue had not hardened entirely, made it collapse upon itself ... result: stomp it flat and throw it in the garbage.
I am now collecting and crocheting a new collection of doilies and will try it again.
This time I will make sure that I have all the materials ready in the house before starting and I will keep it safe during the drying process.
Will post progress as it happens!
Rotselaar, Belgium
Rotselaar, België
Sunday, 23 February 2014
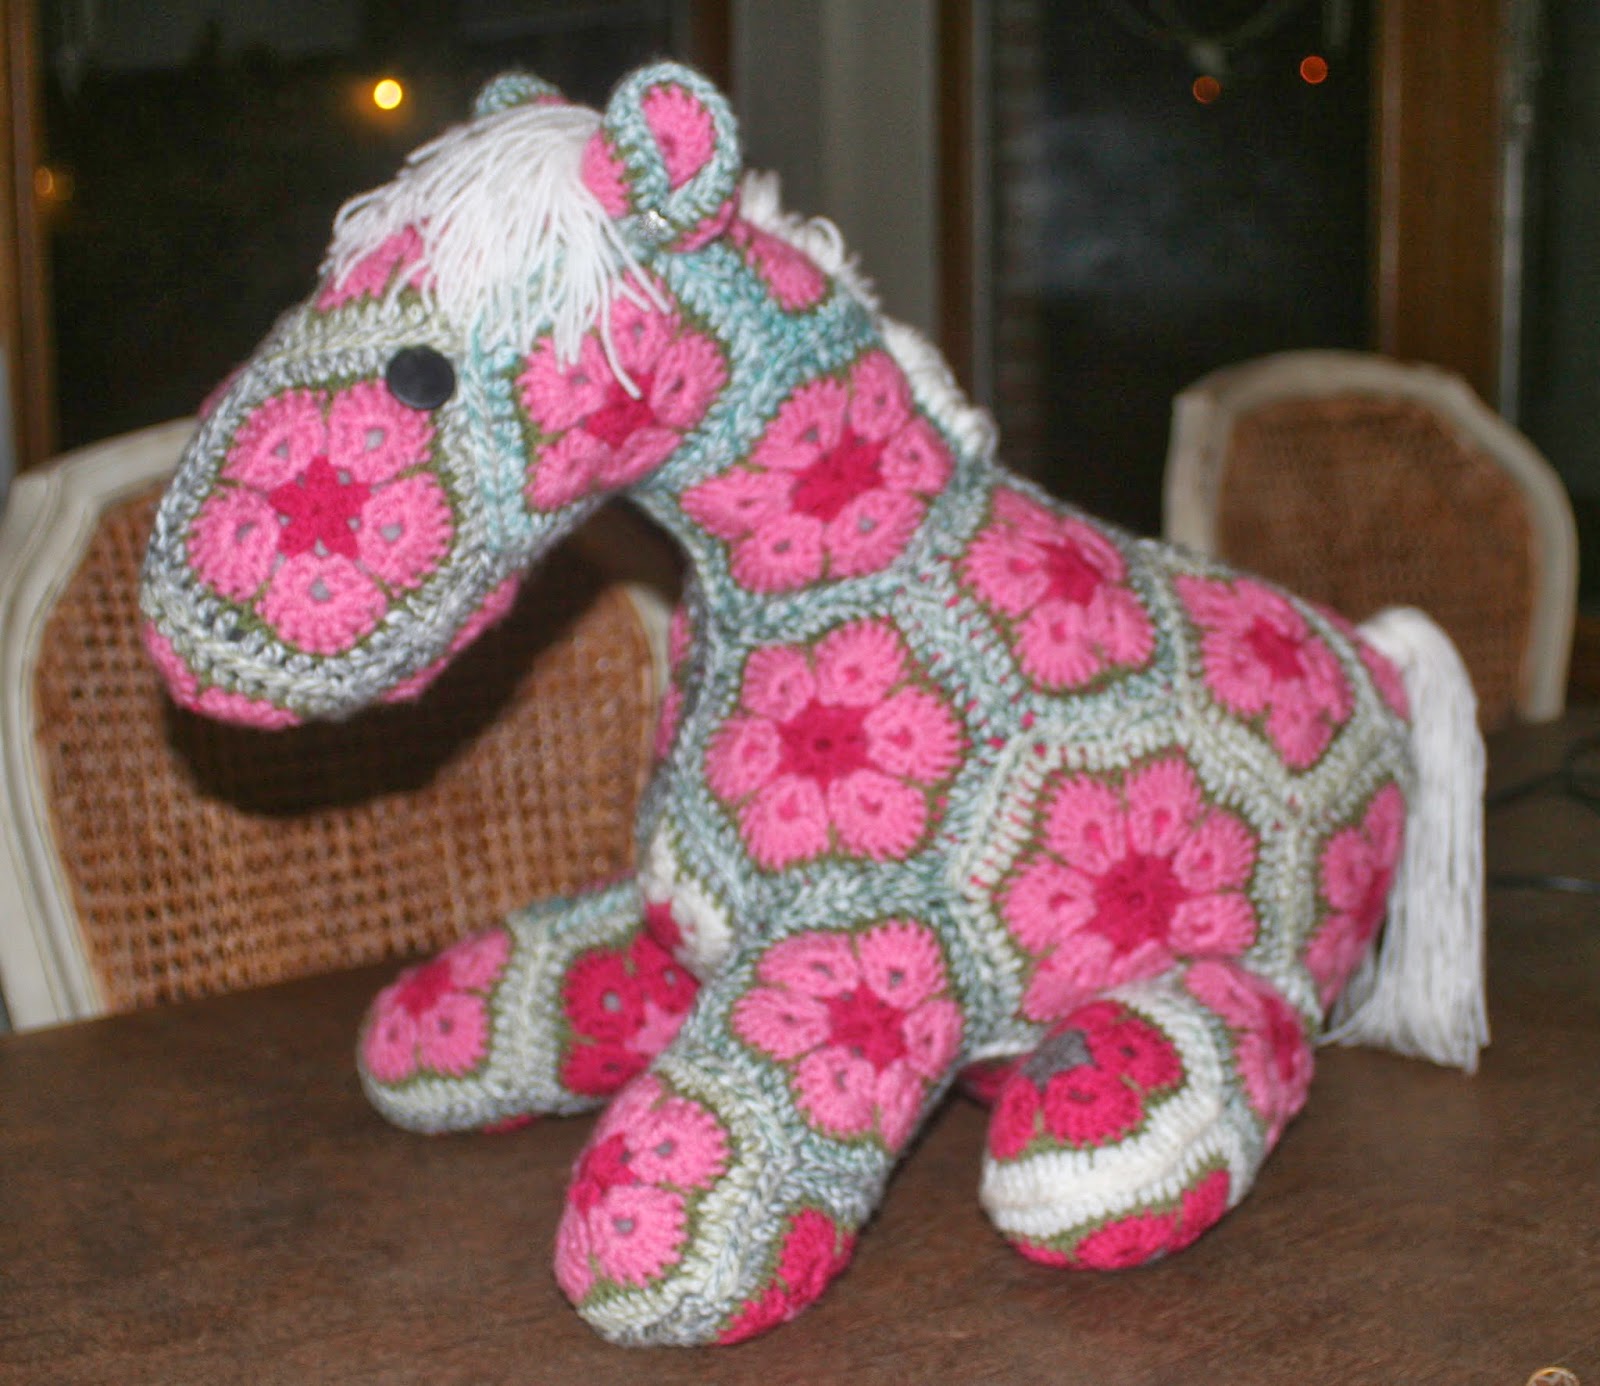
Cuddle animals crocheted with "African Flower Hexagons"
Crocheted from a pattern by Heidi Bears : you can find the link here
An order for a new pony ... Xante would like a blue one for her birthday.
8 March 2014
Xante's pony is finished - delivery tomorrow - hope she likes it!
Next I might give the frog a try : here's the link
Saturday, 25 January 2014
Upon popular request: Scarf tutorial.
I have made these scarves for several of my friends, and had some photos posted on FB. Quite a number of people asked me to post the pattern, but as I made these scarves after just seeing a photo on the web, I promised that the next time I made one I would jot down what I did. But since I'm a blogger now, I decided to make a photo tutorial.
This is the scarf that I am going to make.
This is the scarf that I am going to make.
Stitches used
Slip stitch (sl st)
Chain stitch (ch)
Single crochet (sc)
Double crochet (dc)
Half treble crochet (htc)
Treble crochet (tc)
Half double treble crochet (hdt)
Double treble crochet (dtc)
Triple treble crochet (ttc)
My scarves are made with a crochet hook #5 and yarn that is slightly to thin for a hook #5, this ensures that the finished scarf is not to stiff.
I use 3 to 5 different contrasting or matching colors.
Start by making 6 granny squares.
Ch 4, sl st closed or start with magic loop.
Round 1: ch 3, 2 dc, *ch 2, 3 dc* 3x, end with 2 ch, sl st to 3rd ch.
Round 2: in ch 2 of round 1, ch 3, 2 dc, *ch 1, in next ch 2, 3 dc, ch 2, 3 dc* 3x, ch 1, 3 dc in first ch 2, sl st to 3rd ch.
Round 3: in ch 2 of round 2, ch 3, 2 dc, *ch 1, 3 dc in ch 1 space, ch 1, in next ch 2, 3 dc, ch 2, 3 dc* 3x, ch 1, 3 dc in ch 1 space, ch 1, 3 dc in first ch 2, sl st to 3rd ch.
Round 4: in ch 2 of round 3, ch 3, 2 dc, *ch 1, 3 dc in ch 1 space, ch 1, 3 dc in ch 1 space, ch 1, in next ch 2, 3 dc, ch 2, 3 dc* 3x, ch 1, 3 dc in ch 1 space, ch 1, 3 dc in ch 1 space, ch 1, 3 dc in first ch 2, sl st to 3rd ch.
Join the squares together to form the interior of the scarf. My scarf is now ± 80 cm long.
Now start round 1 in one of the ch 1 spaces, ch 4, *1 sc in next ch space, ch 3* all the way around, on the corners, in ch 2 space 1 sc, ch 2, 1 sc, end with sl st in first ch.
Round 2: in ch 3 space ch 3, 2 dc, ch 1, *in next ch 3 space 3 dc, ch 1* all the way around, on the corners in ch 2 space, 3 dc, ch 1, 3 dc, end with sl st in 3rd ch.
Round 3: in one of the ch 1 spaces, ch 5, *sc in next ch 1 spaces, ch 4* all the way around, on the corners same.
Round 4: in any ch 4 space, ch 3, 3 dc, ch 1, * in next ch 4 space 4 dc, ch 1* all the way around, on the corners you have 2 ch 4 loops, in the first: 4 dc, ch 1, 2 dc, in the second: 2 dc, ch 1, 4 dc, ch 1, end with sl st in 3rd ch.
Round 5: in one of the ch 1 spaces, ch 7, *sc in next ch 1 spaces, ch 6* all the way around, on the corners same.
Round 6: in any ch 6 space, ch 3, 1 dc, 1 htc, 2 tc, 1 htc, 2 dc *in next ch 6 space 2 dc, 1 htc, 2 tc, 1 htc, 2 dc* all the way around and on the corners do the same, end with sl st in 3rd ch.
You can now see the ruffles appearing.
Round 7: here the chain loops are not crocheted in previous rows ch 1 spaces, but instead in the middle of the lobes. On any lobe, between row 6's treble crochets, attache and chain 8, *sc between next lobe's treble crochets, ch 7*, repeat all around, sl st in first ch.
Round 8: final round, in any loop ch 3, 2 htc, 1 tc, 2 dtc, 1 tc, 2 htc, 1 dc, *now sc in sc of previous row, in next loop 1 dc, 2 htc, 1 tc, 2 dtc, 1 tc, 2 htc, 1 dc* repeat all the way around, sl st in 3rd ch.
Work in yarn ends if you have not done so after each round. I prefer to keep on top of working in my yarn ends as I hate having to do a whole bunch of them at once.
Voila! that's the scarf almost done.
To finish and make sure the scarf stays around my neck, I crochet a 3D flower.
I am adding a link here, they explain it far better than I could.
http://skamama.blogspot.be/2007/11/5-petal-flower.html
To determine where to attach the flower to the scarf, I drape around my dress form, but any other volunteer will do.
I start by folding over the scarf lengthwise in the middle at the top edge of the granny squares, that's the middle of the neck. Drape the left side across the chest. Take the right top corner of the scarf and hold up to left shoulder. One of the corner loops of round 5 will act as the button hole to pull the flower through.
So ... that's my scarf done. I hope you have fun creating your own.
I would really like to see pictures of your creations and would also appreciate feedback about the pattern.
Subscribe to:
Comments (Atom)


